BTC Tools Setup Guide
BTC Tools is designed to simplify ASIC miner management and streamline mining farm operations, especially when working with large fleets of devices. This step-by-step guide will walk you through the entire process, from the initial launch and network scanning to bulk pool configuration and power optimization.
Basic Setup & Network Scanning
Launching the Software
BTC Tools is a portable application and does not require system installation. Download the archive from the Download page, extract it to a convenient location on your PC, and run the executable file BTC Tools.exe.
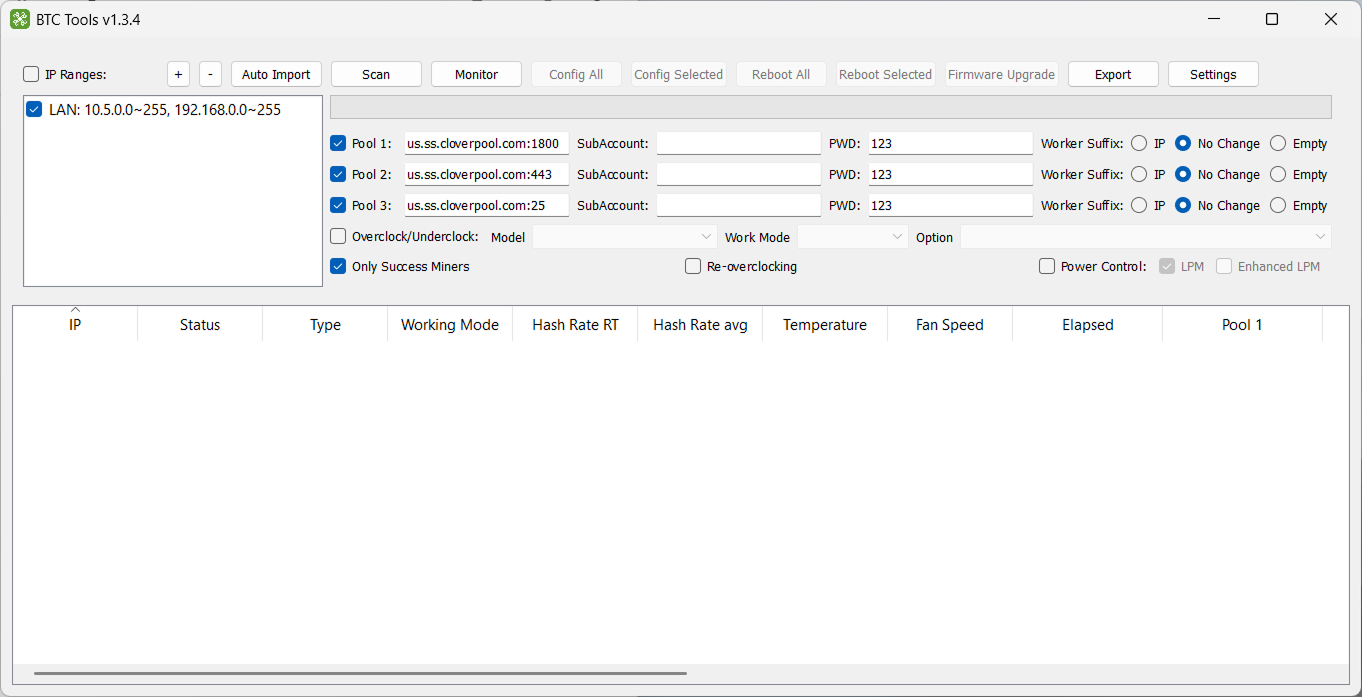
Automatic Network Detection
Upon launch, the program automatically analyzes your computer’s network adapter and adds your local subnet to the “IP Ranges” field. If the segment shown is correct, you can proceed directly to scanning.
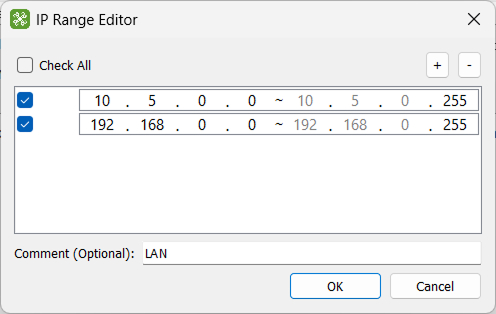
Manual IP Range Configuration
If you need to scan a different subnet, or the auto-detected range isn’t right, set it manually:
- Use the + and − buttons to add or remove network segments
- Double-click a range to specify its Start IP and End IP
- Add an optional comment to label a segment (e.g. “Rack 1”) and uncheck ranges you want to exclude from scanning
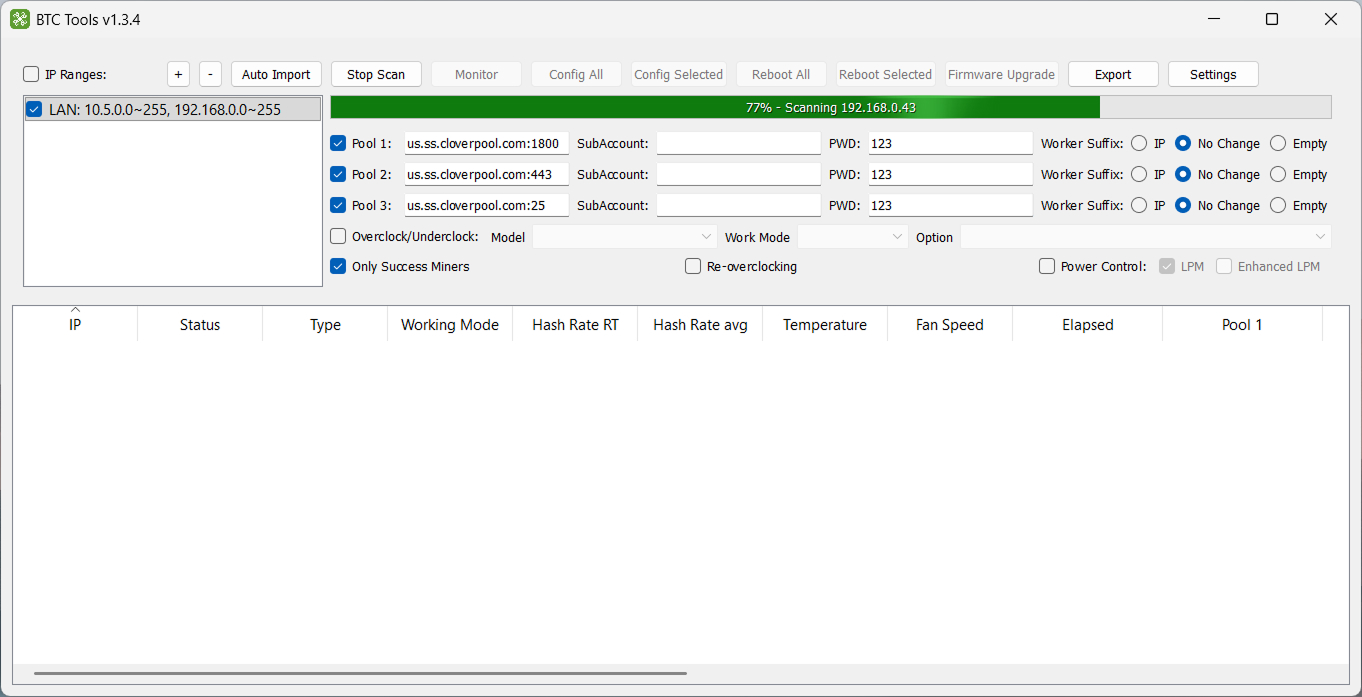
Scanning for Miners
Click Scan in the top menu. The program polls your network segment by segment; as devices are discovered, the table fills in with IP address, hashrate, temperature, fan speed, and worker status. If your miners aren’t detected, see the Help page for troubleshooting.
Tip: Tick “Only Success Miners” to hide unresponsive IP addresses and show only identified devices.
Entering Custom Passwords
If the default factory password (root / root) has been changed on your ASIC miners, BTC Tools won’t be able to fetch detailed statistics. Before scanning, open Settings and enter the current password under “Miner Login Passwords.”
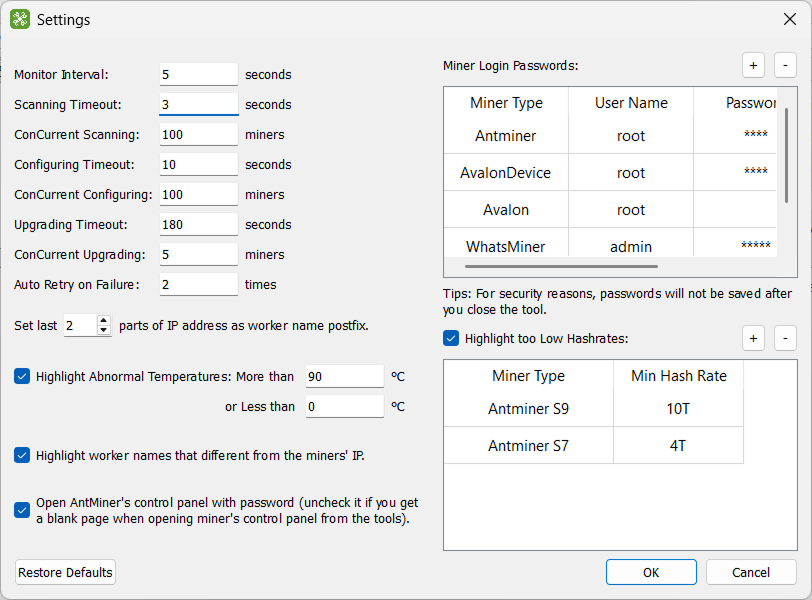
Table Operations & Monitoring
Sorting Data
Click any column header to sort the table by hashrate, temperature, or uptime – ascending or descending. Columns can also be reordered by dragging their headers.
Error Indication (Red Markers)
The built-in monitor automatically highlights problem devices in red, in three cases:
- Critical overheating – temperature exceeds the configured limit
- Hashrate drop – computing power is below the declared value, or zero
- Configuration mismatch – the worker name doesn’t match the miner’s IP
Thresholds for each condition can be adjusted in Settings.
Context Menu & Quick Access
Right-click any miner in the list for quick actions:
- Copy – saves all parameters of the selected row to the clipboard
- Open Miner Web – opens the ASIC’s own management panel in your browser
- Fill Miner Info – copies the device’s current pool settings into the batch configuration form below
Batch Configuration
Mass Pool and Worker Modification
- Select the miners you want to update (hold Shift for a range, Ctrl for individual devices)
- Enter the new pool address in the Pool URL field
- Enter the sub-account/worker name – add a suffix (e.g. IP address) for automatic per-device numbering
- Click Config Selected to apply the new settings to the whole group at once
Remote Reboot
If a device is frozen or needs a restart after a settings change, select it and click Reboot Selected (or Reboot All for the whole list). Batch reboot is supported on all current Antminer models.
Batch Firmware Update
Click Firmware Upgrade, choose the firmware file on your PC, and start the process. BTC Tools uploads and installs it sequentially on every selected device.
Overclocking & Power Management
Depending on the miner’s model and firmware, BTC Tools can remotely change its operating mode. Enable Overclock/Underclock, then choose a Work Mode – shift your whole farm to Low Power Mode, or push it to Enhanced Mode for maximum performance.